If you're a movie and TV show lover like me, you know how frustrating it can be to keep track of all your media across different streaming services and devices. Luckily, there's a solution that can simplify your media collection and make it easier to watch your favorite shows and movies hassle-free: Plex on Proxmox.
Proxmox is a popular virtualization platform that allows you to run multiple operating systems on a single physical server. And when you combine it with Plex, you get a powerful media server setup that can store, organize, and stream all your media from a single location.
In this blog post, I'll walk you through the steps I took to install Plex on my home server using Proxmox. I'll also share some tips and tricks to help you get the most out of your media setup, whether you're a hardcore movie buff, a TV show addict, or just someone looking to simplify their media collection.
So, get ready to dive into the world of virtualization and media streaming, and let's get your Plex setup up and running on your home server. Who knows, you might even impress your friends with your newfound tech skills (or at least impress them with your movie collection).
Install Plex onto a Proxmox Container
- Navigate to: the proxmox node
- Navigate to: Console and run the following command to download the 20.04 Ubuntu Template:
pveam download local ubuntu-20.04-standard_20.04-1_amd64.tar.gzClick the
Create CTbuttonGeneral
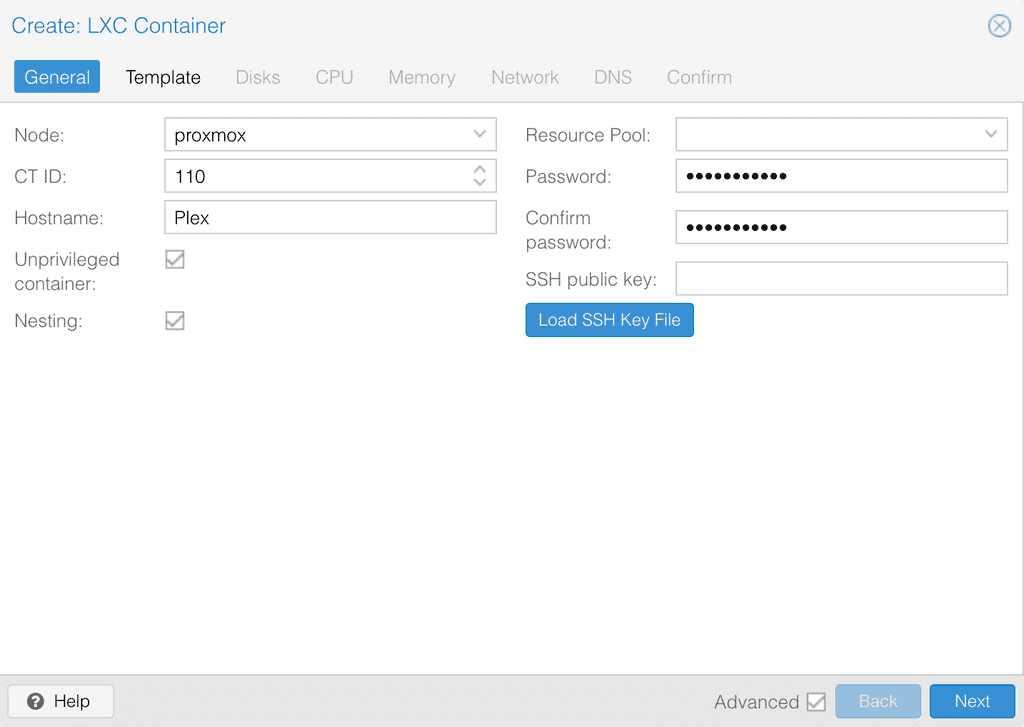
- Node: proxmox
- VM ID: 110
- Name: Plex
- Set Password
Template
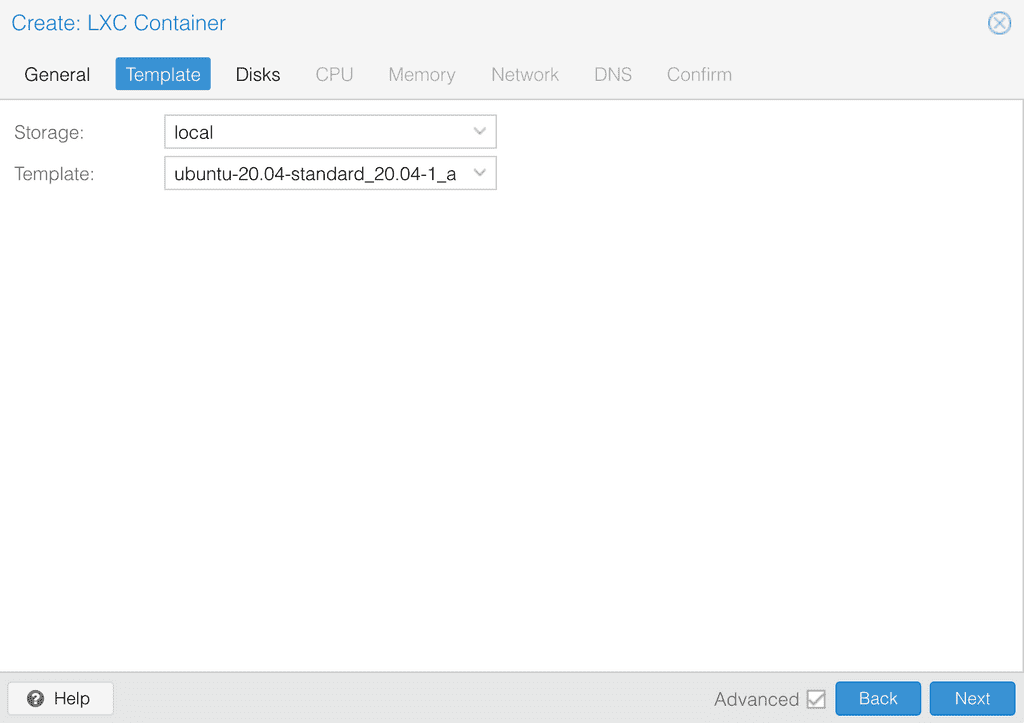
- Storage: local
- Templage: ubuntu-20.04-standard_20.04-1_amd64.tar.gz
Disks
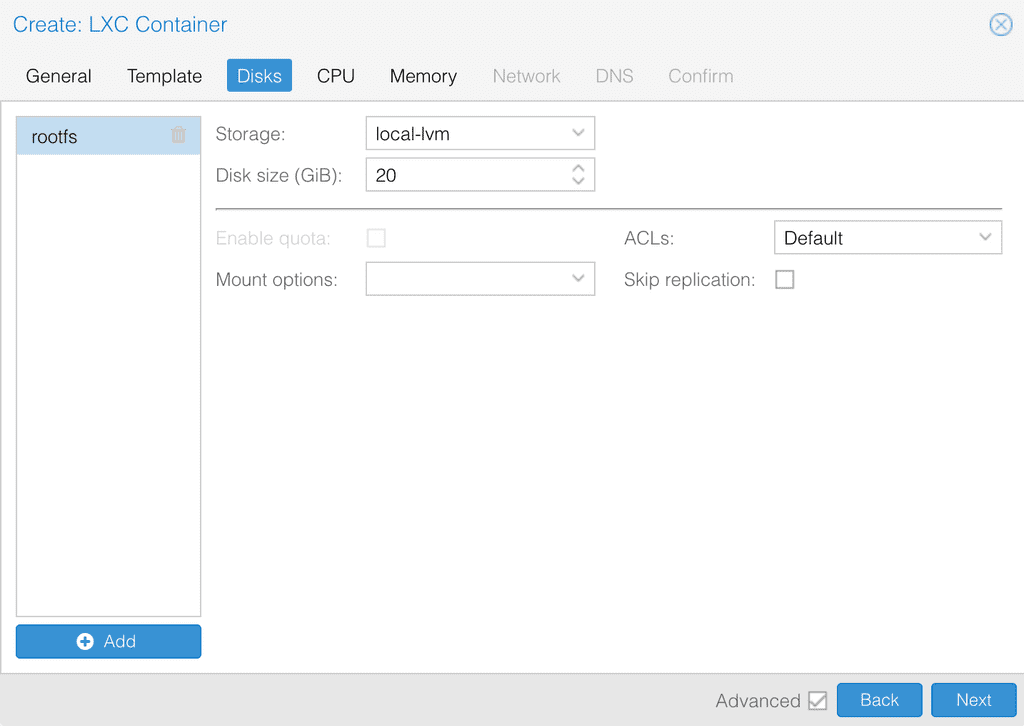
- Disk size (GB): 20
- Click Next:
CPU
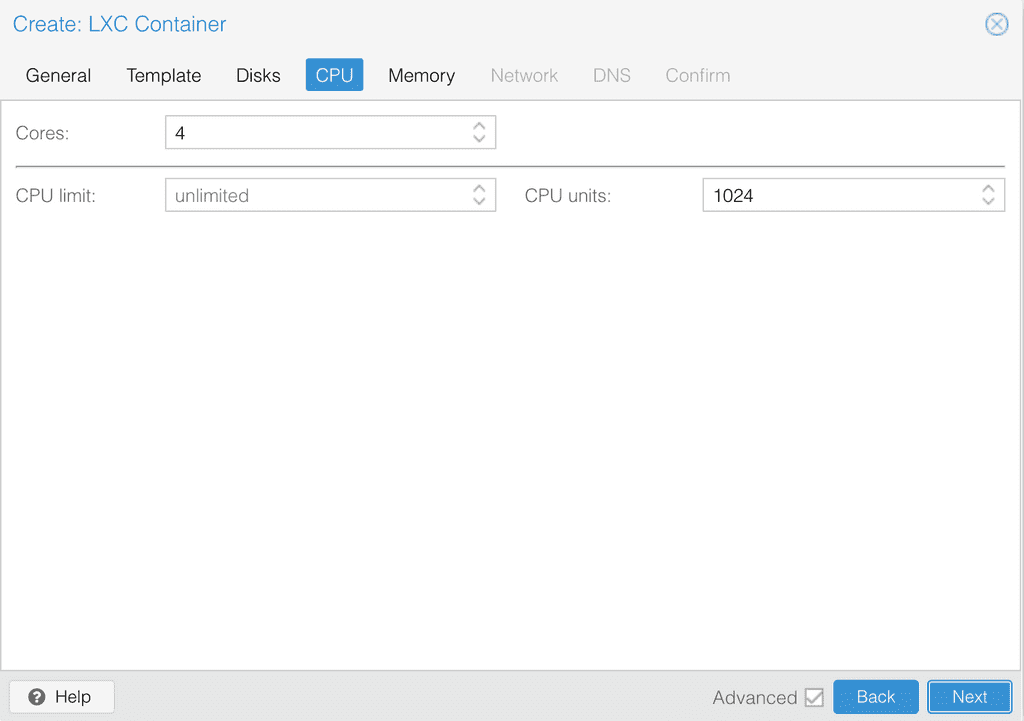
- Cores: 4
Menory
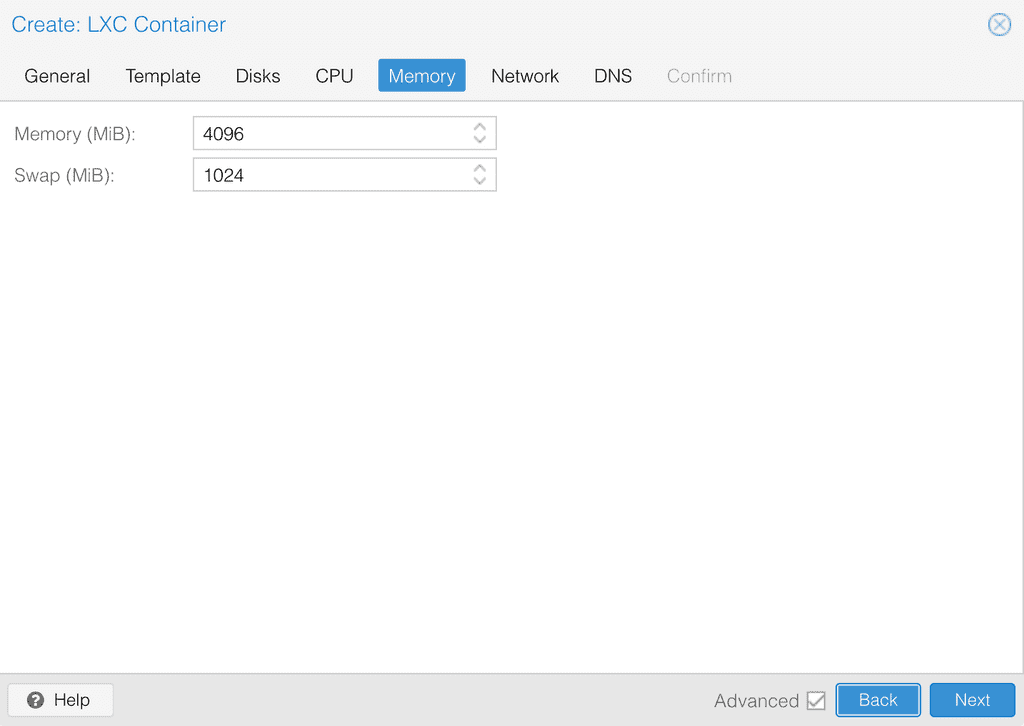
- Memory (MiB): 4096
- Swap (MiB): 1024
Network
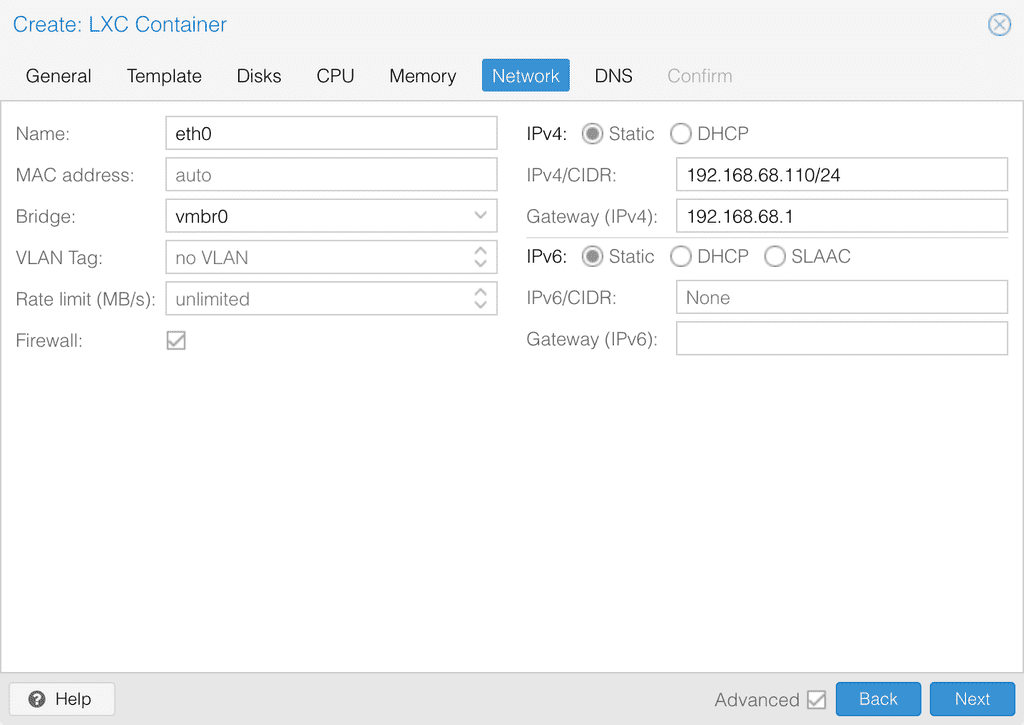
- IPV4: 192.168.68.110/24
- Gateway: 192.168.68.1
DNS
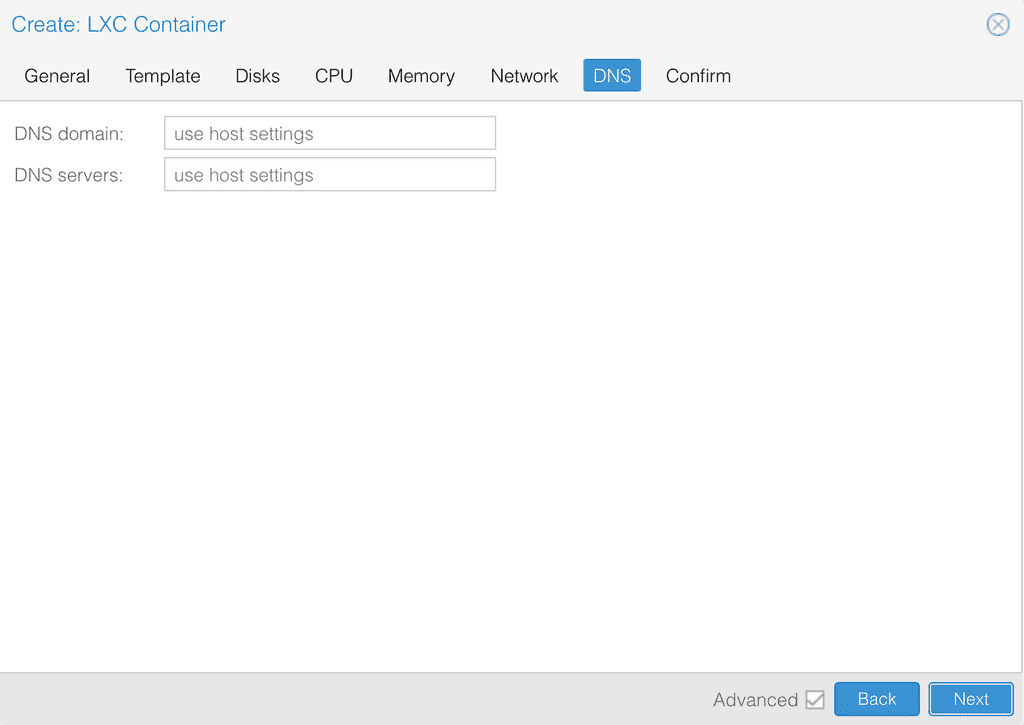
- Click Next
Confirm
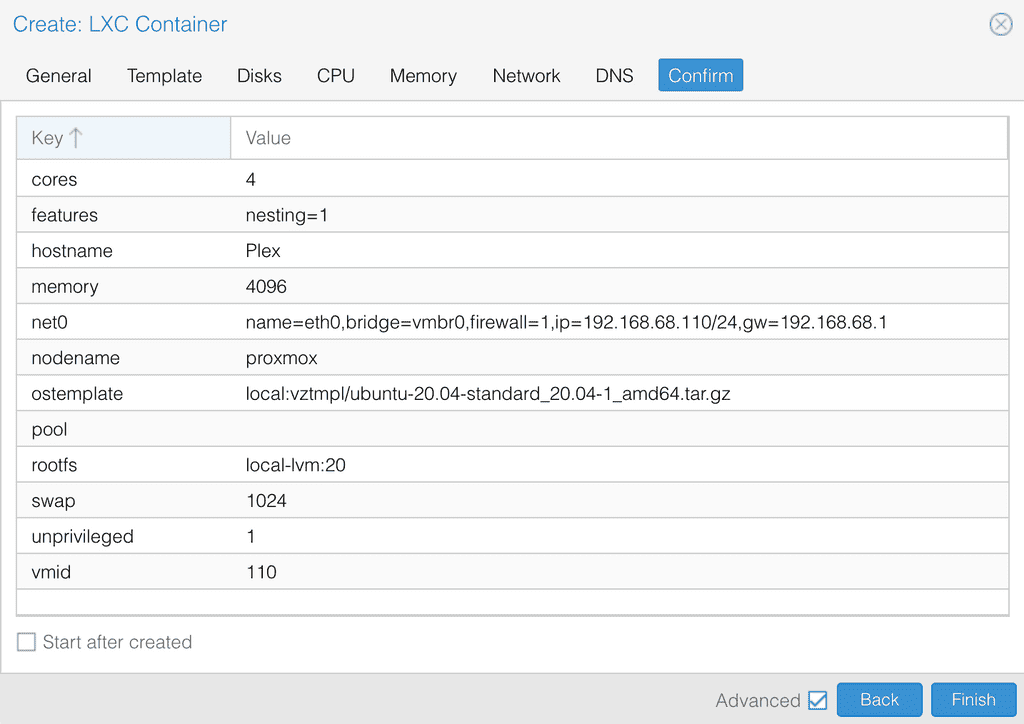
- Click Finish:
Navigate to: 110 (Plex) > Console
Run the following command to update the container:
apt updateRun the following command upgrade the container:
apt upgrade -yMount Shared External Hard Drive to Plex Container
Navigate to: the proxmox node:
Navigate to: >_ Shell
Create a directory in the container to hold the Plex content with the following command:
mkdir /mnt/plexEdit the fstab file with the following command:
nano /etc/fstabAdd the following line in the file (Must have SMB Ver 3 enabled on Synology)
//192.168.68.110/video /mnt/plex cifs username=<NAS Username>,password=<NAS Password>,vers=3.0,iocharset=utf8,noperm 0 0Mount the drive
mount -aCheck to see if mount is present with the following command:
cd /mnt/plex
ls
CD into the following directory and edit the 110.conf file (Start container for 110.conf to exist)
cd /etc/pve/lxc
nano 110.conf
Add the following line into the 110.conf file
mp0: /mnt/plex,mp=/mnt/Navigate to: 110 (Plex)
Navigate to: Console
rebootAdd Mount Point to 110 Plex
- Navigate to: 110 Plex > Resources
- Click
AddMount Point
Download the Plex installation file.
wget https://downloads.plex.tv/plex-media-server-new/1.27.2.5929-a806c5905/debian/plexmediaserver_1.27.2.5929-a806c5905_amd64.deb- Unpackage the installation file:
dpkg -i plexmediaserver*.debsystemctl enable plexmediaserver.servicesystemctl start plexmediaserver.servicenano /etc/apt/sources.list.d/plexmediaserver.list- Uncomment the line
deb https://downloads.plex.tv/repo/deb/ public mainin the file
deb https://downloads.plex.tv/repo/deb/ public main