Have you ever been interested in having your living room lights flash red twice and have your smart speaker play the song C.R.E.A.M. when there is motion detected at your front door between the hours of 8am and 5pm? If you're anything like my wife then definitely not, but for anyone else who is interested in learning how I automated my home then read on.
I've recently gone down the rabbit hole of converting my home to a smart home and have spent way more time researchiing and purchasing equipment to do this than my wife would have liked. So I thought I'd document the process in case I need to ever set it up again.
My Setup
It all starts with the brains of my operation, my homelab setup. My current homelab setup looks someting like this:
- Operating System: Home Assistant
- Virtual Environment: Proxmox Virtual Environment (PVE)
- Home Server: HP EliteDesk 800 G3
Install Proxmox onto a Small Form Factor (SFF) Business PC
These are the steps to setup Proxmox Virtual Environment (PVE) onto a home server.
Download the Proxmox installation file onto your computer
Download balenaEtcher and use it to flash the Proxmox installation file onto a USB thumb drive
Startup the HP Elitedesk 800 G3 while pressing
F10to enter the BIOSWhile in the BIOS, Navigate to: Advanced Tab > Secure Boot Configuration
- Enable Legacy Support Enable and Secure Boot Disable
F10Save and exitEnter PIN to disable Secure Boot
Press
F9to enter Boot MenuSelect USB drive as boot disk
Install Proxmox Virtual Environment (PVE)
- Select appropriate Country and Timezone
- Set Password and Email
- Hostname: proxmox.local
- IP Address: 192.168.68.100
- Gateway: 192.168.68.1
- DNS Server: 192.168.68.1
Start Proxmox Navigate to: URL in browser: https://192.168.68.100:8006/
- Username: root
- Password: ********
Upgrade the latest Updates for Proxmox
- Navigate to: the proxmox node
- Navigate to: Updates > Repositories
- Select the repository https://enterprise.proxmox.com/debian/pve and click the
Disablebutton. (unless you have a subscription) - Click on the
Addbutton and select No-Subscription from the dropdown options - Click on
Refreshand then click onUpgrade
Mapping NFS Storage on Proxmox
- Ensure that you have enabled NFS on a shared folder (named proxmox) in your NAS
- Navigate to: the Datacenter level
- Navigate to: Storage
- Click the
Addbutton and select NFS
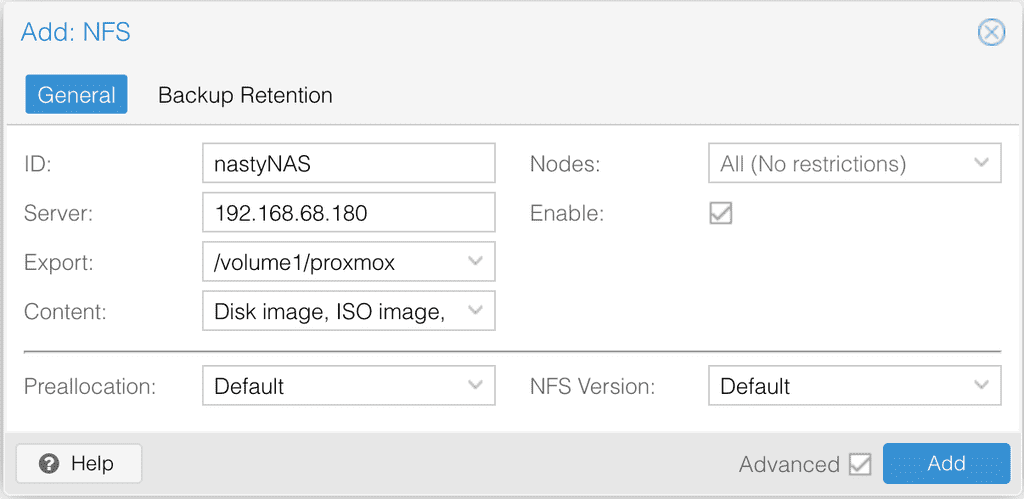
- ID: nastyNAS
- Server: 192.168.68.180
- Export: /volume1/proxmox
- Content: Check All
- Click the
Addbutton and you're done
Install Home Assistant onto a Proxmox Virtual Machine
- Click on the
Create VMbutton
General
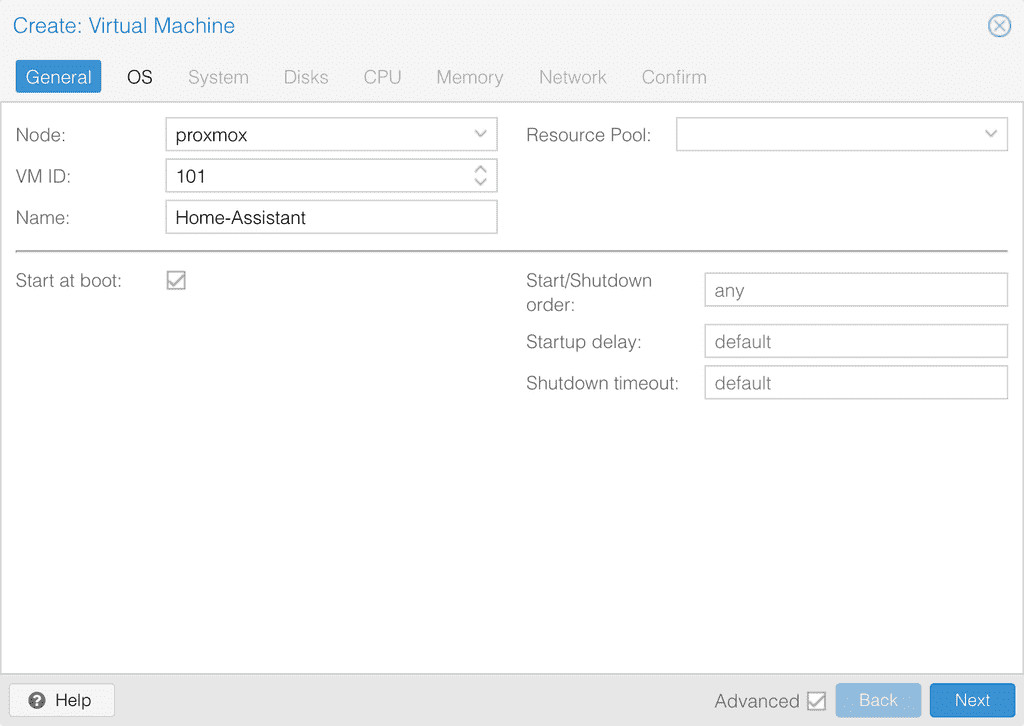
- Node: proxmox
- VM ID: 101
- Name: Home-Assistant
- Check Advanced checkbox
- Check Start at boot checkbox
OS
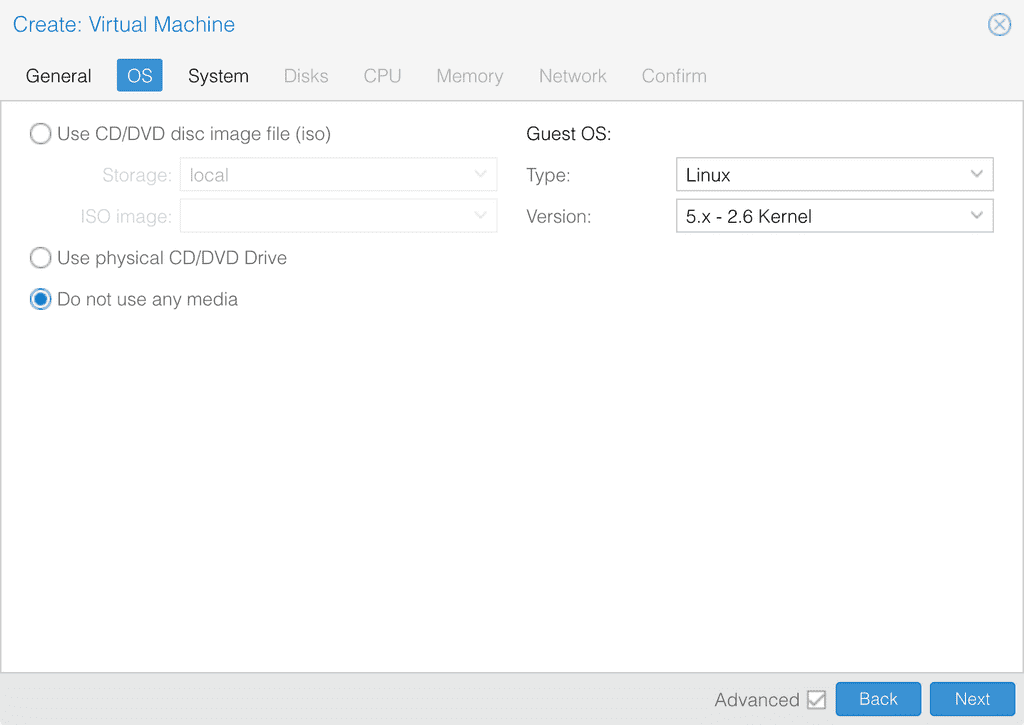
- Select Do not use any media
System
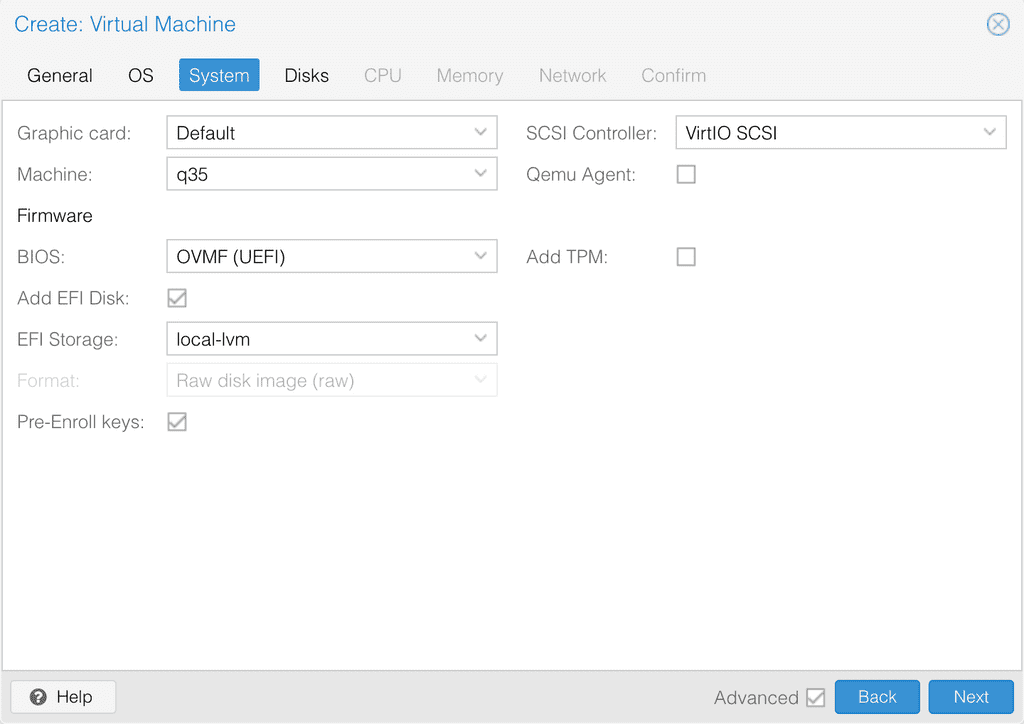
- Machine: q35
- BIOS: OVMF (UEFI)
- EFI Storage local-lvm
Disks
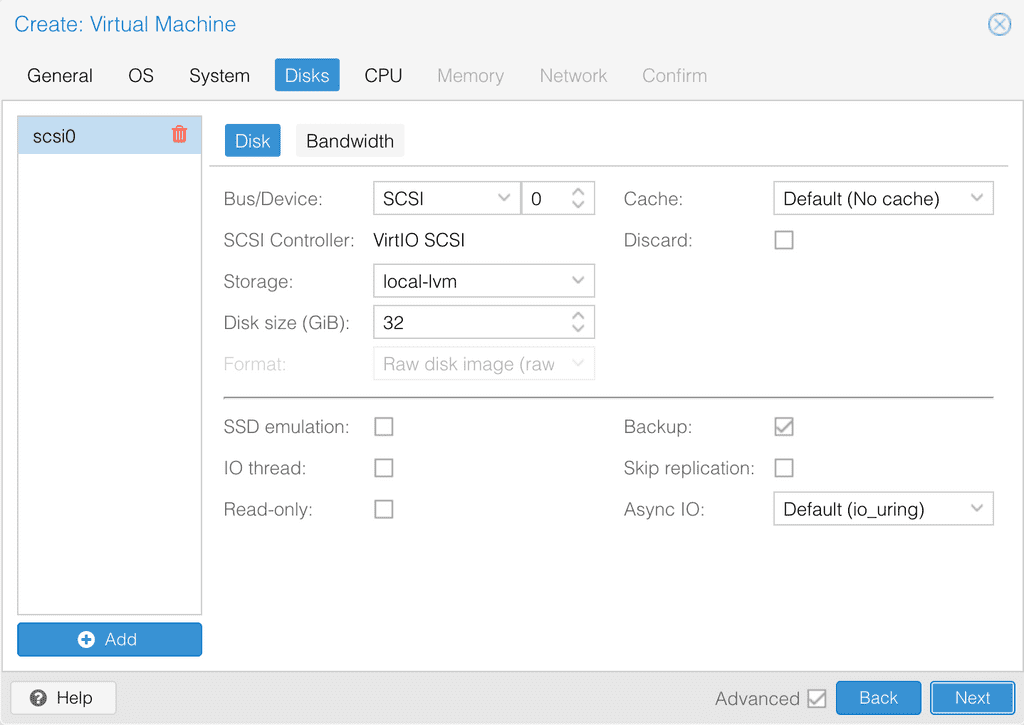
- Next
CPU
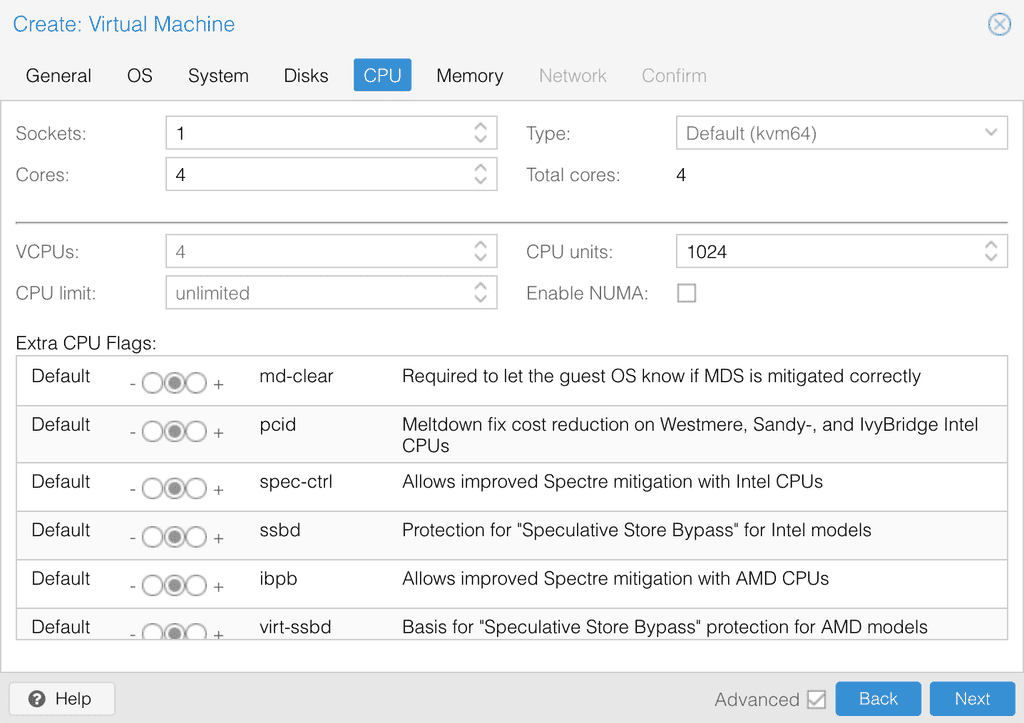
- Cores: 4
Memory
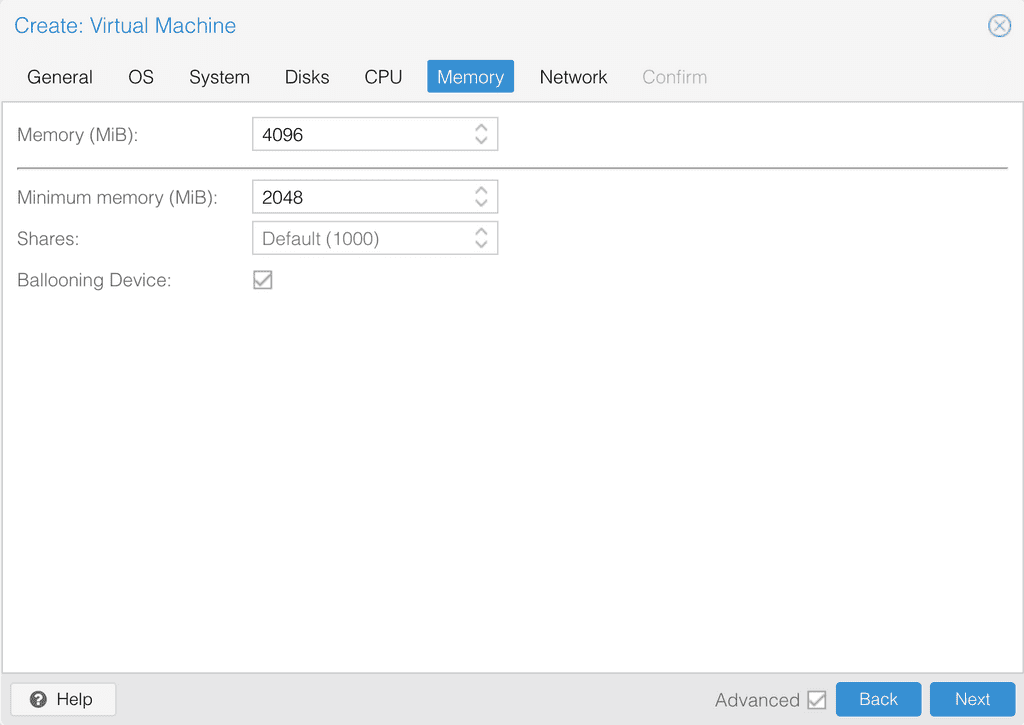
- Memory (MiB): 4096
- Minimum Memory: 2048
Network
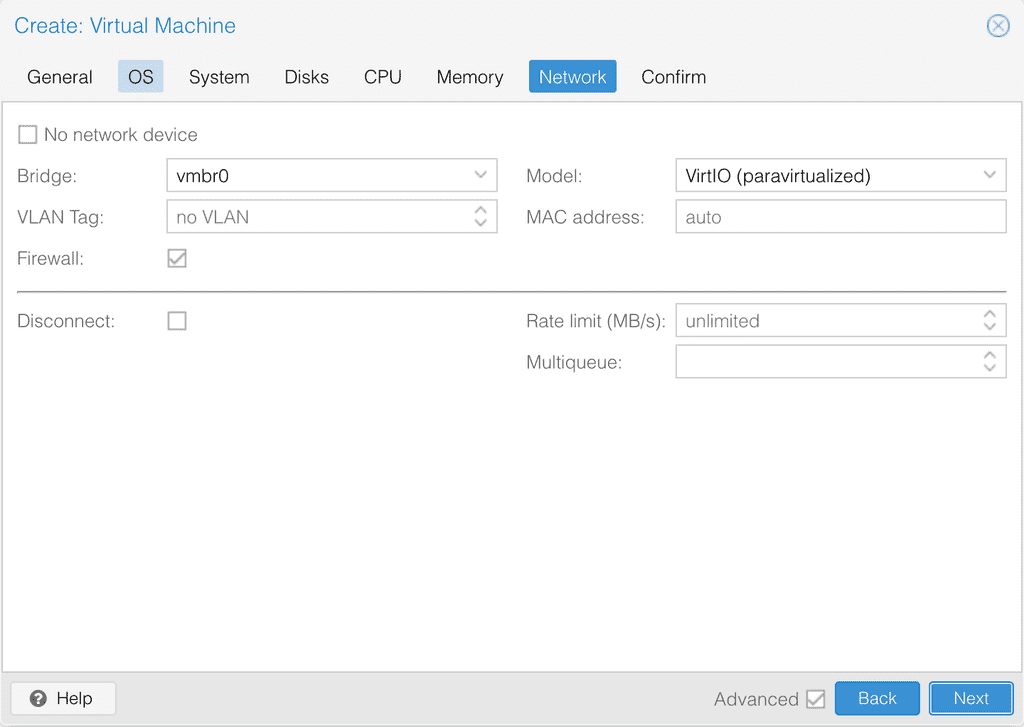
- Next
Confirm
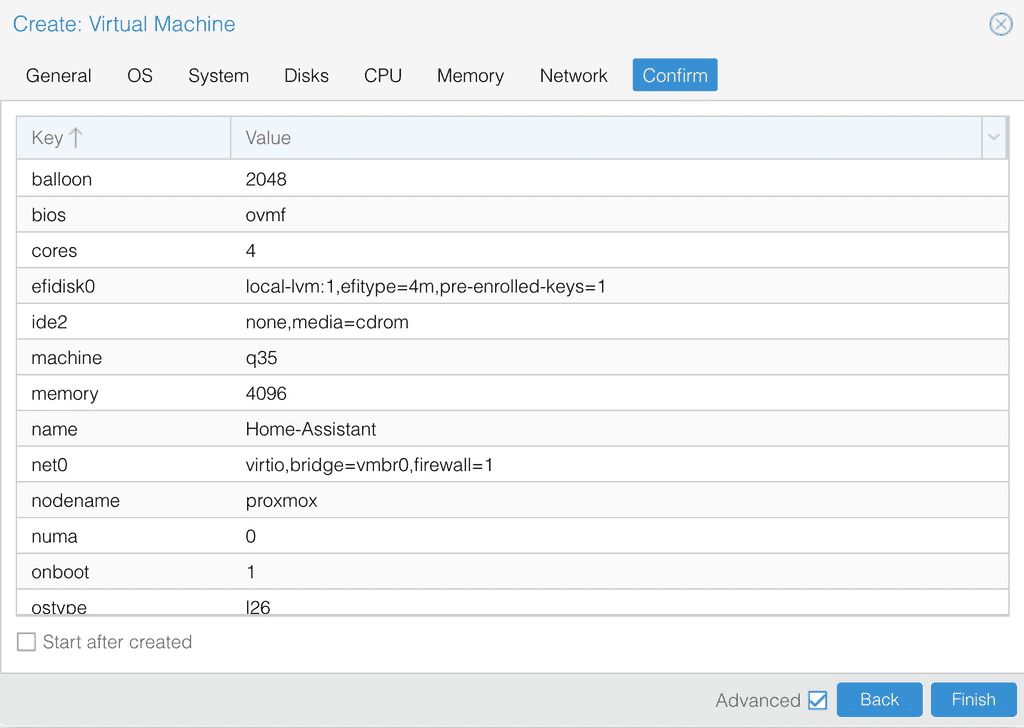
- Finish
Navigate to: Updates
- Click on
Refresh - Click on
Upgrade
- Click on
Go to the Home Assistant installation file webpage and download the image: KVM/Proxmox (.qcow2)
or
- Directly download the file here: KVM/Proxmox (.qcow2)
- Extract file from .xz file to .qcow2
- Open Terminal:
- Run the following command to move the qcow2 file from the computer to the proxmox node
scp haos_ova-8.2.qcow2 root@192.168.68.100:Navigate to: the proxmox node:
Navigate to: >_ Shell
- The following command moves the qcow2 file from proxmox to 101 (Home-Assistant)
qm importdisk 101 /root/haos_ova-8.2.qcow2 local-lvm --format qcow2- Navigate to: 101 (Home-Assistant) > Hardware
Move the haos_ova-8.2.qcow2 file to the boot disk on 101 (Home-Assistant)
- Shutdown the VM
- Select Hard Disk (scsi0) and click
Detach - Remove Unused Disk 1
- Add Unused Disk 0 (Home Assistant Installation file)
- Go to Options
- Double-click Boot Order
- Check enabled for scsi0 and drag to the top of the list
- Go to the Console
- Start the VM
- Hit
ESCat Proxmox logo - Device Manager > Secure Boot Configuration
- Uncheck Attempt Secure Boot
- Hit
F10to save - Esc back to Main Menu, click
Reset
